5 Pro-Tips for Mastering Adobe InDesign
We’ve been using Adobe InDesign, one of the most popular layout and page design tools, for what seems like forever – at least 84 years.
Generally, we use InDesign when creating marketing collateral, including posters, flyers, interactive PDFs, digital magazines, and more.
Over time, we’ve learned a bunch of simple tips and tricks that have had a big impact on our workflow and product.
Here are the 5 most important pro-tips that we’ve learned along the way.
Hot Keys: Speed up the Design Process
Hot keys are keyboard shortcuts for actions that you would otherwise access from the application menu. Learning these hot keys will save you a ton of time, especially for projects with a lot of pages.
Select vs. Direct Select
There’s a difference between a frame and the stuff within a frame.
You can select the frame by hitting the ‘V’ key for the select tool, but if you want to select the stuff within a fame, hit the ‘A’ key for the direct select tool.

Paste in Place
Did you know you can quickly copy an object and paste it in the exact same spot on a different page in your document? It’s a game changer.
First, select the object, then hold the ‘Command’ key and hit the ‘C’ key in order to copy it.
Once you’re on the new page, hold ‘Shift’ while simultaneously pressing the ‘Option’, ‘Command’ and ‘V’ keys to paste it in place.
Boom.

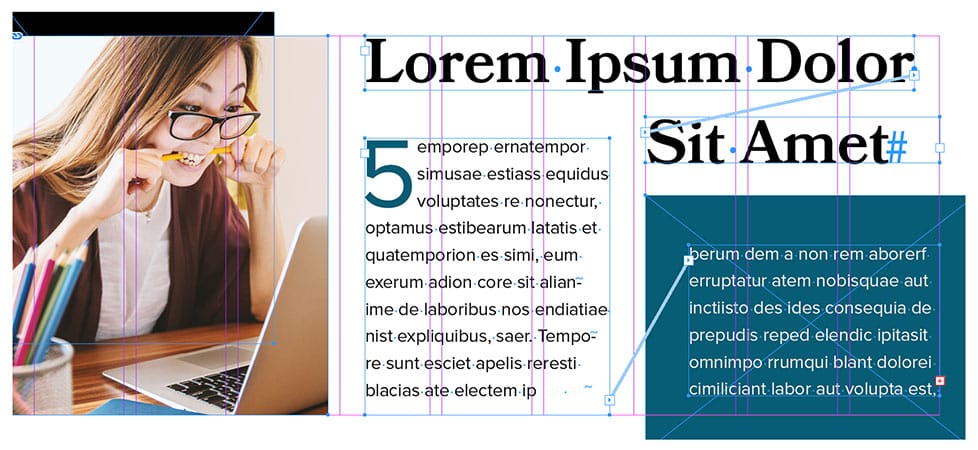
Preview Mode
InDesign’s default view shows a lot of visual information, like margins, columns, and frames.
Hit the ‘W’ key to toggle Preview Mode to see what your final layout will look like.

Toggle Guides
If you still want to see some of the building blocks of your layout (like text frames), but you don’t want to see anything else, hold the ‘Option’ key and then hit the Semi-colon (;) key.

Place Image
Hold the Command key (or Control in Windows) and press the ‘D’ key to insert an image into a frame.

Frames and Content
A lot of InDesign is placing images into frames. After you’ve hit ‘Command’ + D to place an image, you can:
- Fit an image in a frame proportionally (Shift + Option + Command + E)
- Center an image in a frame (Shift + Option + E)
- Resize an image and the frame it is in proportionally (Shift + Click + Drag)

Object Alignment: Perfectly Balanced, As All Things Should Be
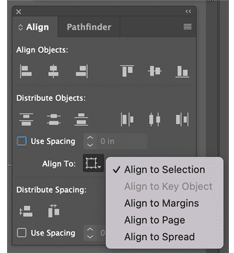
Don’t just eyeball your design. Use the Alignment function to easily achieve a clean and perfectly-balanced layout.
Use the Select tool (hit the ‘V’ key) to select an object (frames, type, etc.) or multiple objects. Choose what you are aligning the frame or frames to: themselves, the margin, the page, or the whole spread.
Aligning a group of objects together first, and then to the margin or page results, in the most balance.
Hidden Characters: Don’t Let Them Wreak Havoc

No, we’re not talking about Scooby-Doo style hidden characters. The kind of hidden characters I’m referring to are things like bizarre line breaks and mysterious spacing issues.
When you copy formatted text from outside of InDesign and paste it into a text frame, a whole bunch of hidden characters sneak into your layout.
You can find them by going to ‘Type’ in the top menu and selecting ‘Show Hidden Characters’. Then you’ll be able to identify and eliminate all the hidden characters wreaking havoc on your design.
This will also help you fix line and page break issues.
It’s either you or them. Don’t hesitate. Be merciless.
Text Threads: Reveal Frame Connections
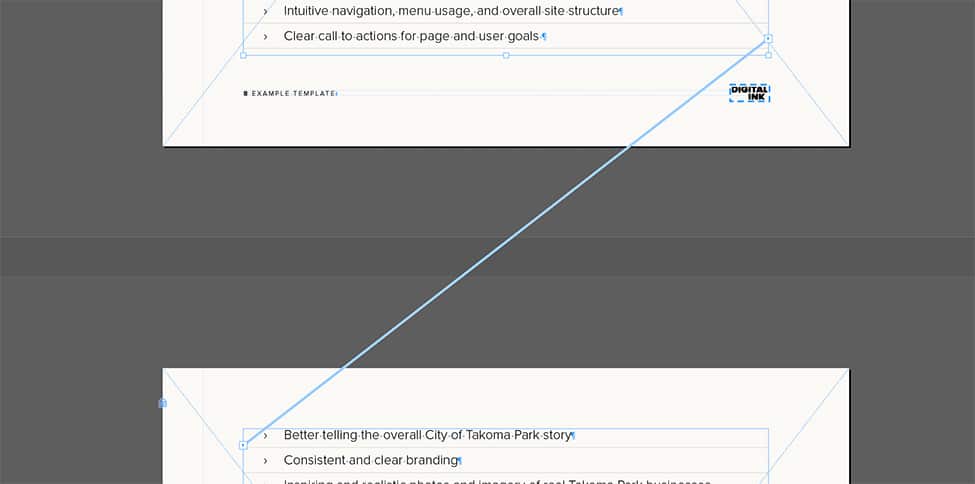
It’s common for a layout to have multiple connected frames of text, but it can be confusing to keep track of how each frame is connected.
You can reveal the connections between frames by selecting View in the top menu, selecting ‘Extras’, then ‘Show Text Threads’.
Exporting PDF Files: Best Practices
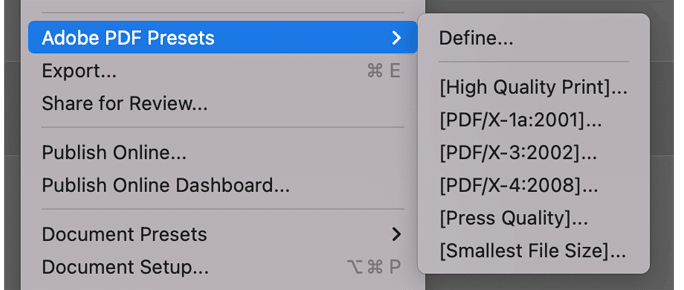
There are several preset options for exporting PDFs, depending on your needs and requirements:
- For sending PDFs as attachments and viewing online, select ‘File’, ‘Adobe PDF Presets’, and ‘[Smallest File Size]…’
- When you have more wiggle room for larger file sizes, like printing at home or in an office, choose ‘File’ > ‘Adobe PDF Presets’ > ‘[High Quality Print]’
- When you need to send your artwork to a print vendor who specifies everything to be in CMYK color, choose ‘File’ > ‘Adobe PDF Presets’ > ‘[PDF/x-1a:2001]’
These 5 tips and tricks are crucial, but that’s just the tip of the iceberg.
If you’re interesting in leveraging our full master of Adobe InDesign, let’s talk.

